
How to install mlpack on windows

I usually use Vim on Ubuntu for any type of development.
Lately I tried installing mlpack on Windows 10 to try programming on Visual Studio 2015, which I heard is very good for debugging.
I used appveyor instructions to build mlpack. I think this is the simplest way of building mlpack since most of the dependencies (except for armadillo) used is pre-compiled.
If you want to compile every dependencies from source, please refer to this blog
Prerequisites
The following tools are needed:
- CMake Windows win64-x64 Installer
- Visual Studio 2015 (Visual Studio 2013 lacks some powerful C++11 features, that mlpack uses.)
Step 1, Download mlpack.
First, create a project folder. For this example, I used C:/projects/ folder. And download the latest stable version of mlpack and place it under projects folder. So the folder structure now becomes C:/projects/mlpack-2.0.1/.
Warning: I got unsuccessful with 2.0.1 release. Instead, download from the master branch on github.
Step 2. Setup mlpack in Visual Studio and download some dependencies using NuGet.
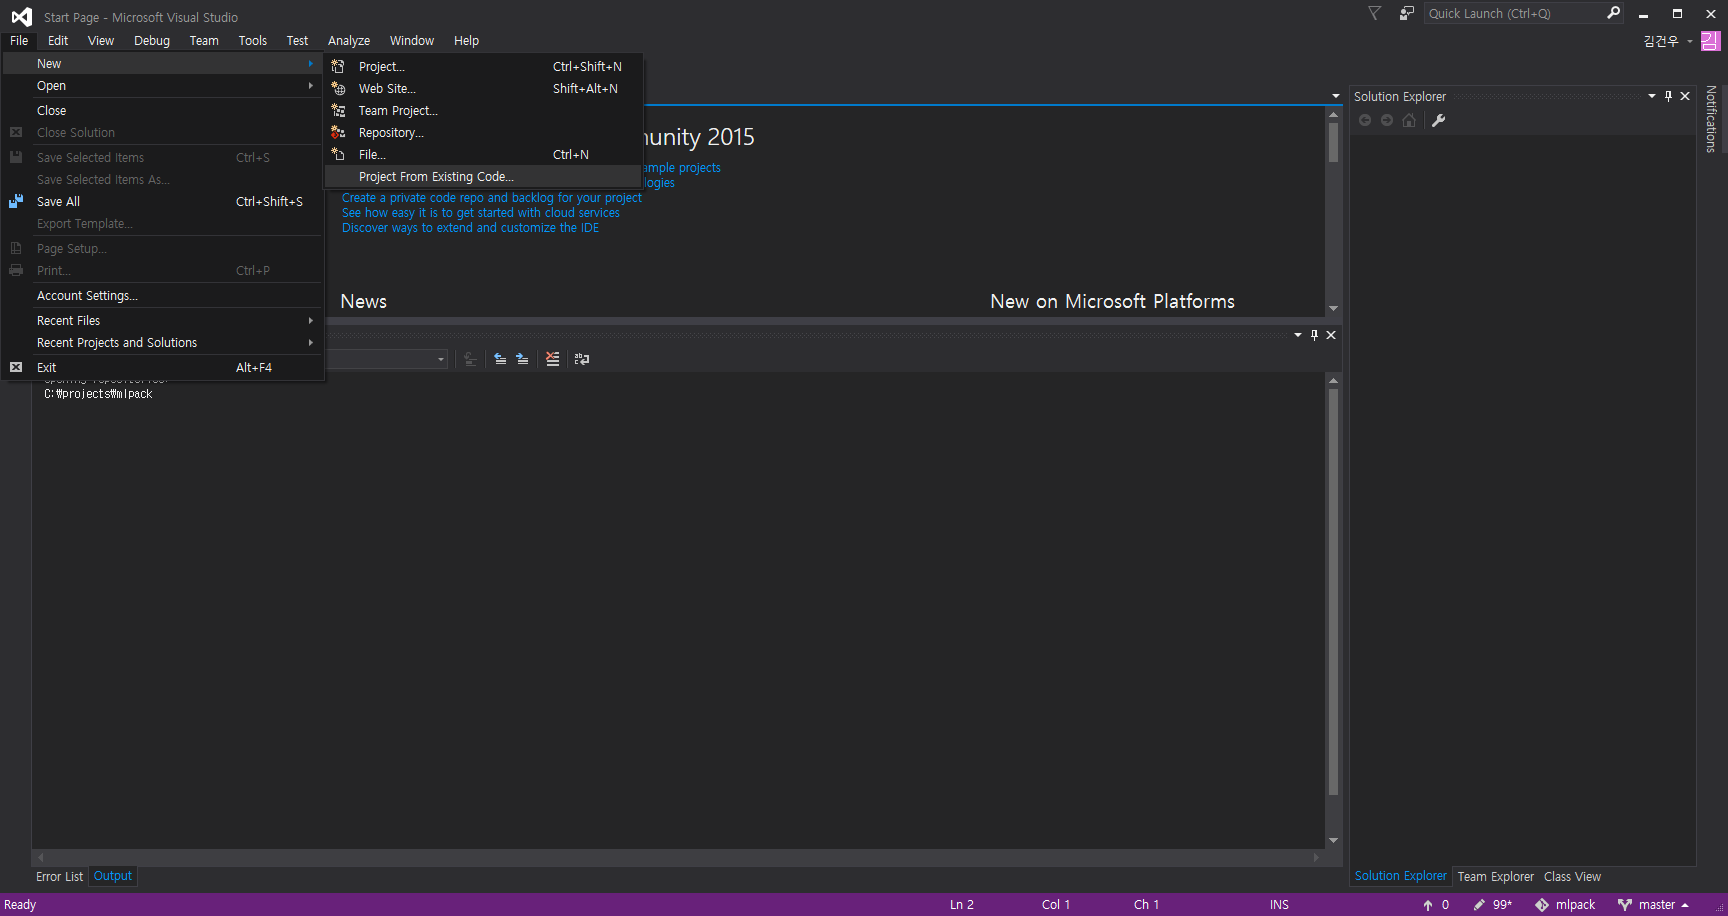
open Visual Studio and click File > New > Project from Existing Code.
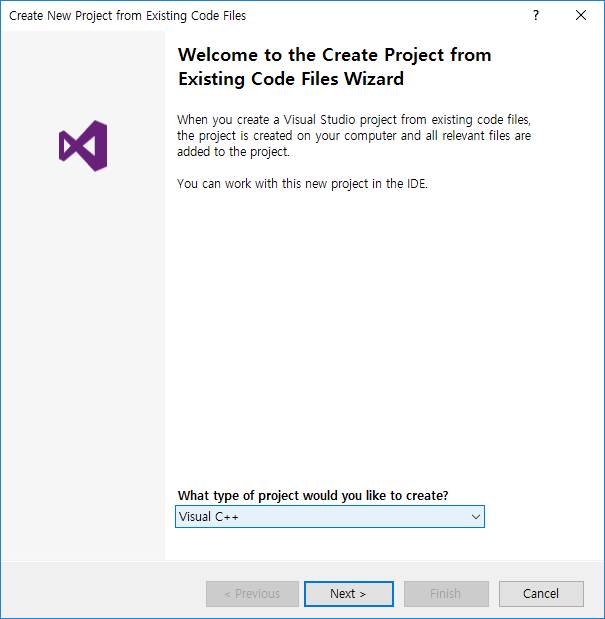
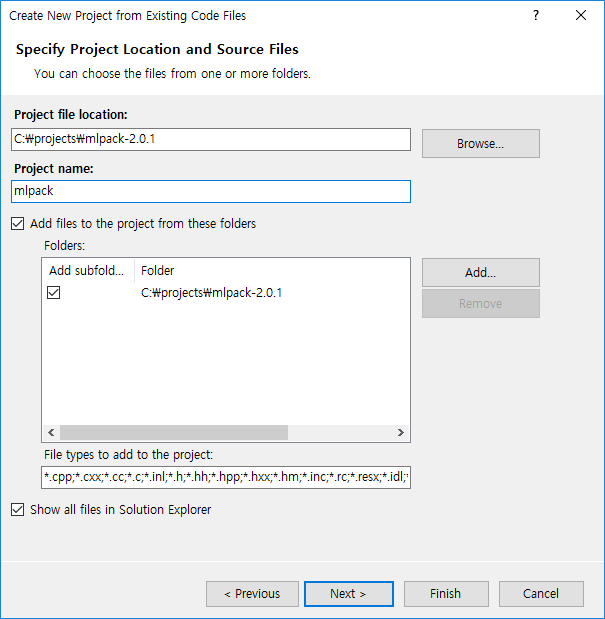
Select Visual C++ (not that important) and select the file location (in this case, C:/projects/mlpack-2.0.1/). Give any project name (can be anything, but I used mlpack for this example) and click Finish.
Next, it is time to download the dependencies using NuGet. NuGet is something like apt-get for debian. It makes things a lot easier and less time consuming.
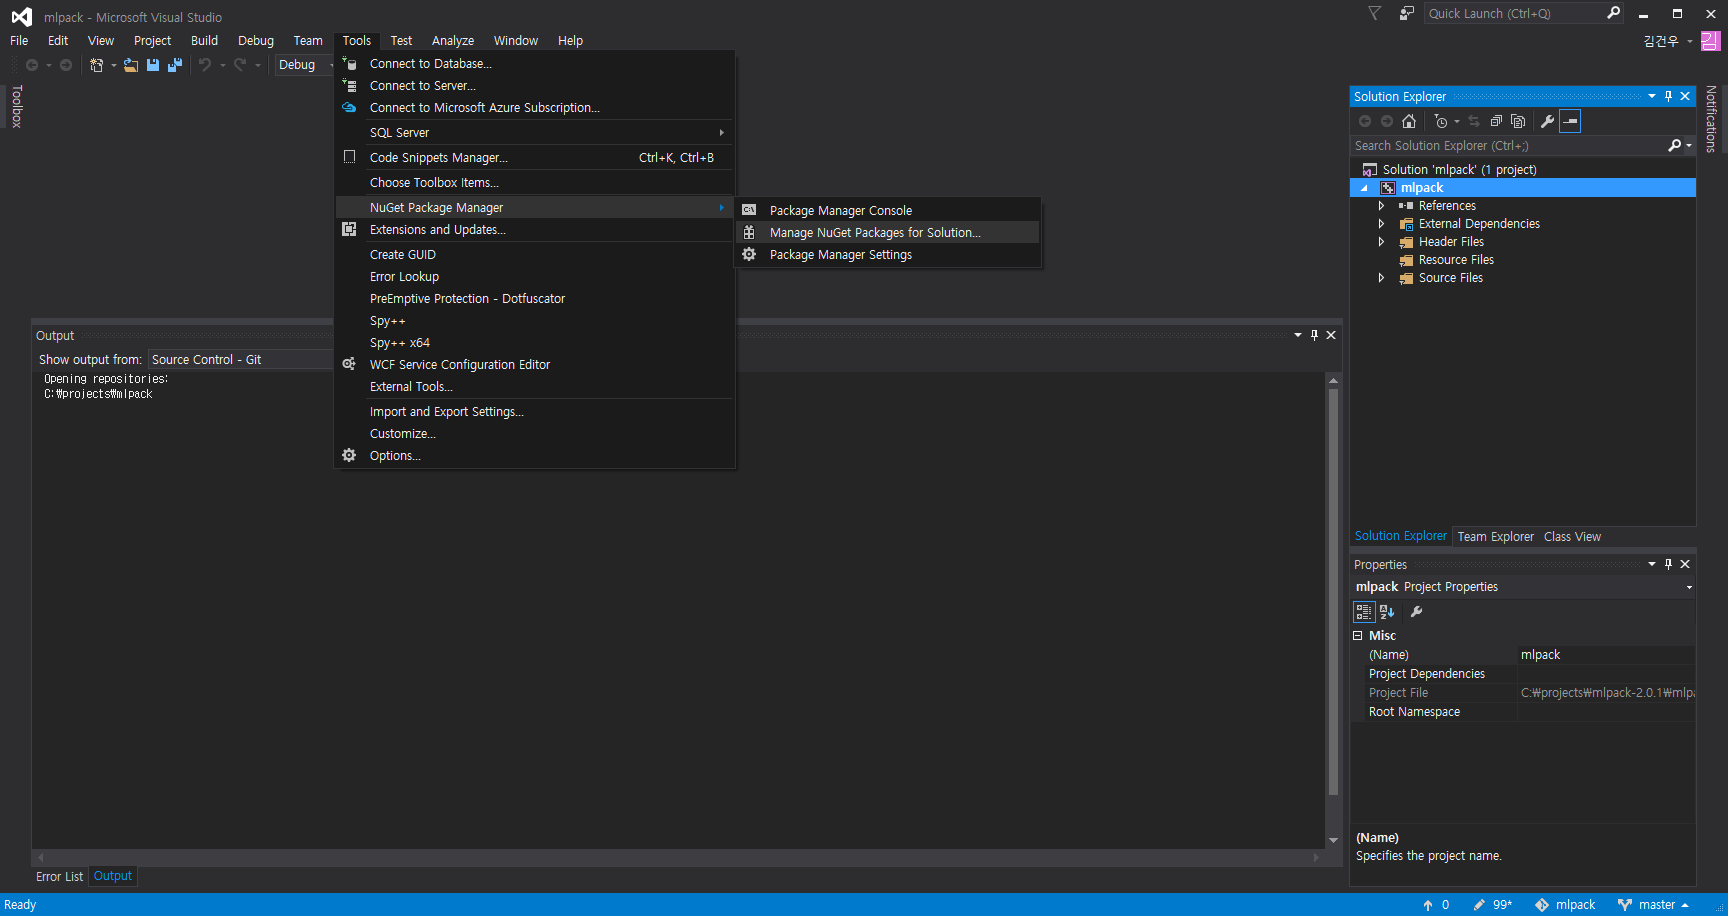
Go to Tools > NuGet Package Manager > Manage NuGet Packages for Solution and click Browse tab.

I want to download OpenBLAS so search for it and click the project (mlpack) which you want to apply.
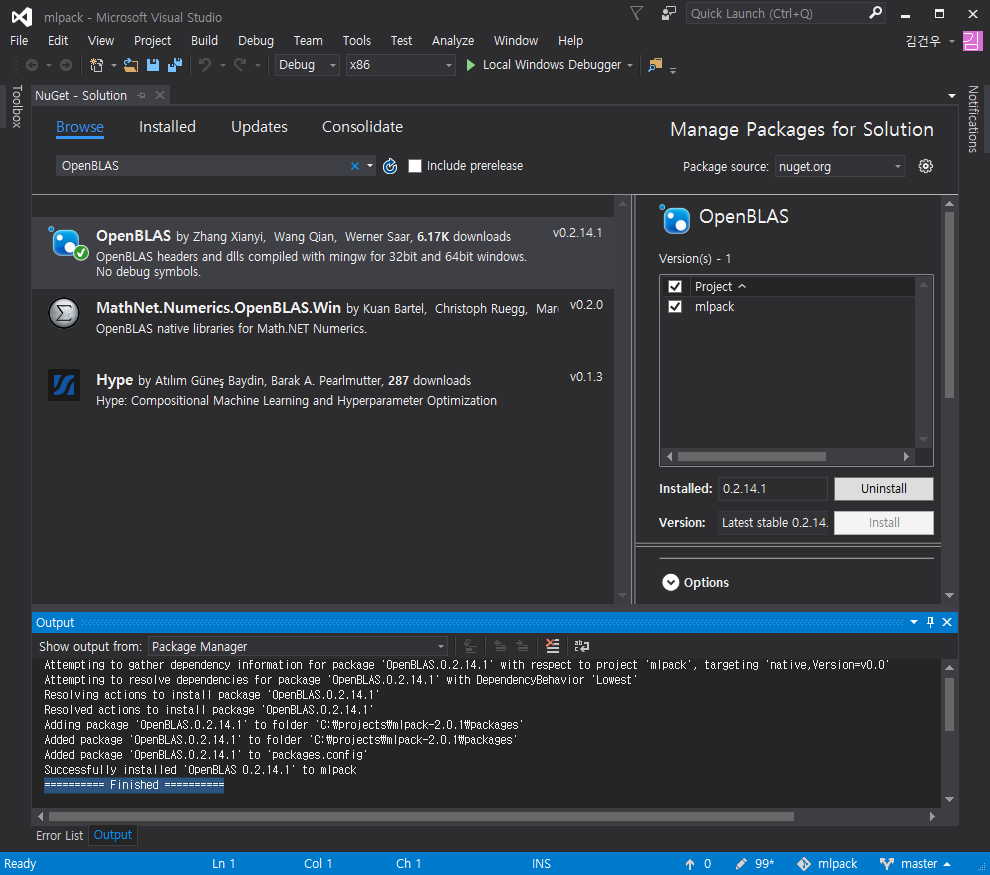
You can search for the names of the dependencies to download. If somehow you don’t see NuGet Package Manager on your menu, you need to install NuGet for Visual Studio.
Do the same for the following dependencies.
- boost
- boost_unit_test_framework-vc140
- boost_program_options-vc140
- boost_random-vc140
- boost_serialization-vc140
- boost_math_c99-vc140
- OpenBLAS
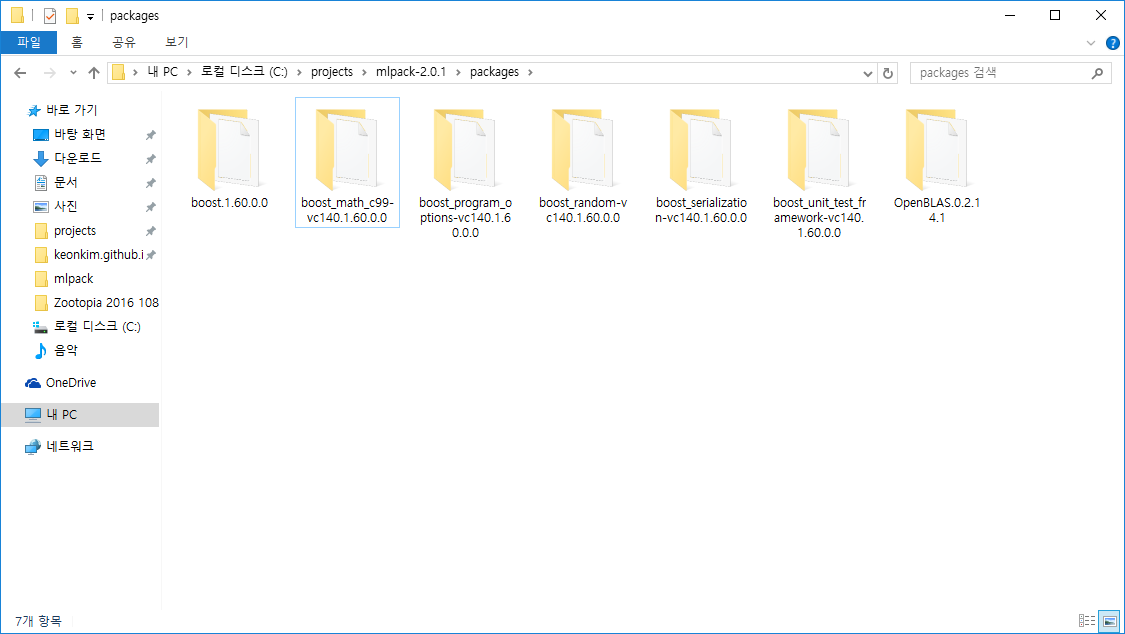
When you are done, you should see the packages installed in C:projects/mlpack-2.0.1/packages. To make them easier to work with CMake, you should gather all boost libraries into one folder. To do that, make a new folder named boost_libs under packages folder.
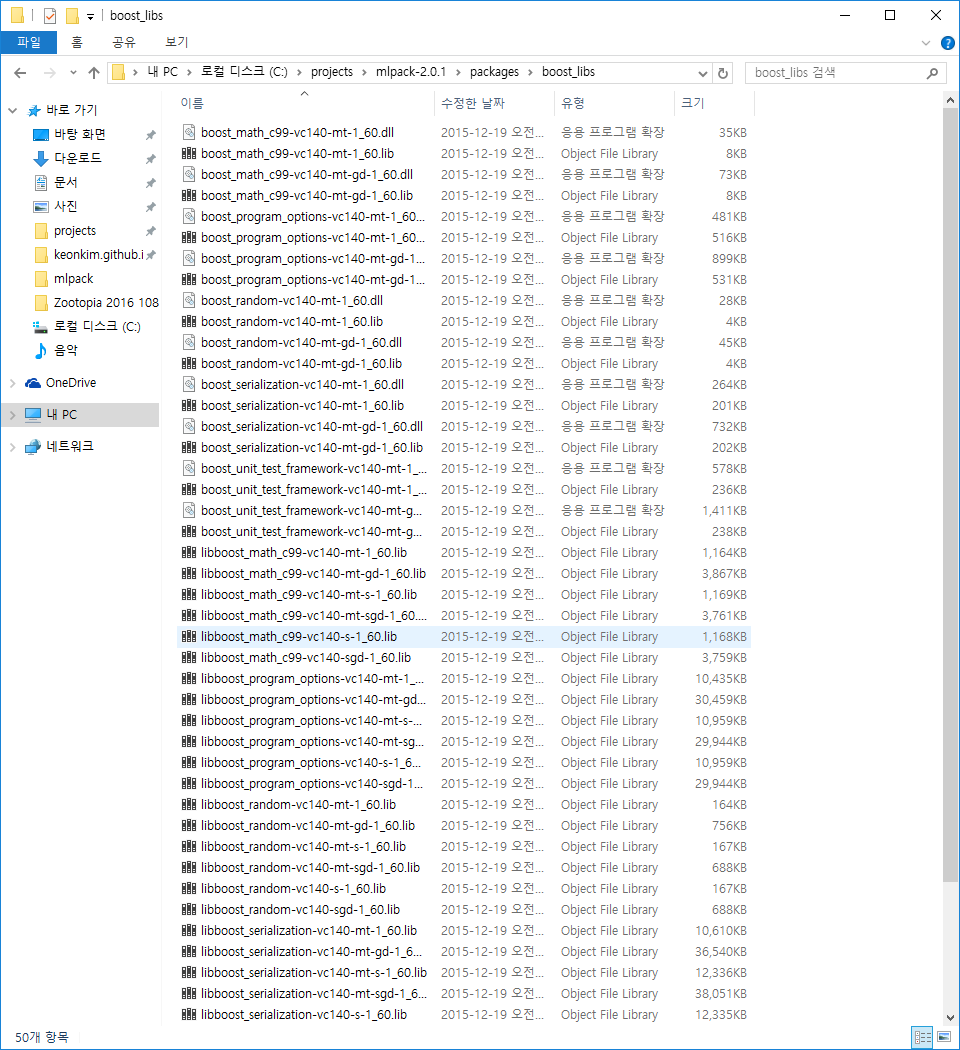
Now copy and paste everything (total of 5) under the following folders to boost_libs
- boost_math_c99-vc140.1.60.0.0/lib/native/address-model-64/lib
- boost_program_options-vc140.1.60.0.0/lib/native/address-model-64/lib
- boost_unit_test_framework-vc140.1.60.0.0/lib/native/address-model-64/lib
- boost_serialization-vc140.1.60.0.0/lib/native/address-model-64/lib
- boost_random-vc140.1.60.0.0/lib/native/address-model-64/lib
now boost_libs should look like the following picture.
Step 3, Download Armadillo and Build it.
Unfortunately, there is no NuGet package of Armadillo. So we need to build it manually.
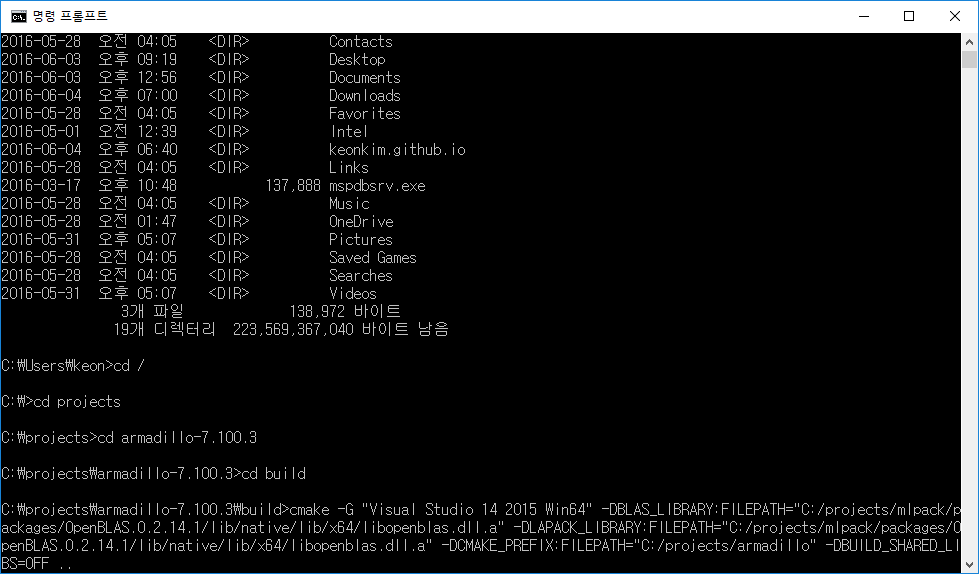
Download the latest stable version of Armadillo. As a courtesy, the Armadillo package contains pre-compiled 64bit versions of standard LAPACK and BLAS. You extract it anywhere, but for this example I extracted it under C:/projects/ folder. projects folder now cotains armadillo-7.100.3 and mlpack-2.0.1
Under armadillo-7.100.3, create a new folder named build. And now go to command prompt by pressing windows button and typing cmd. Make sure you can use cmake in the command prompt.
go to the build folder you just made, and copy and paste the following (all in one line).
|
|
If you used different directories other than ones used in this example, you must change the input accordingly. I broke the lines so that it is easier for you to edit.
|
|
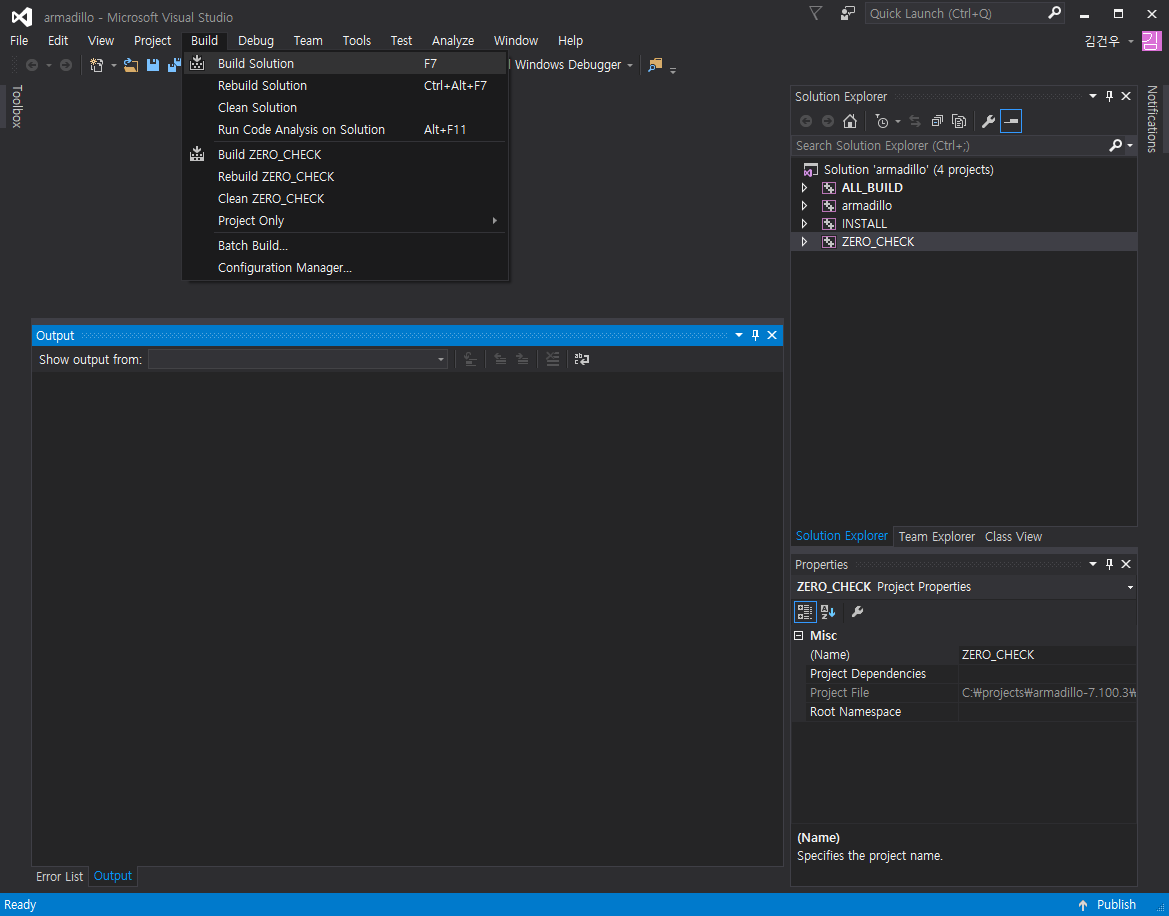
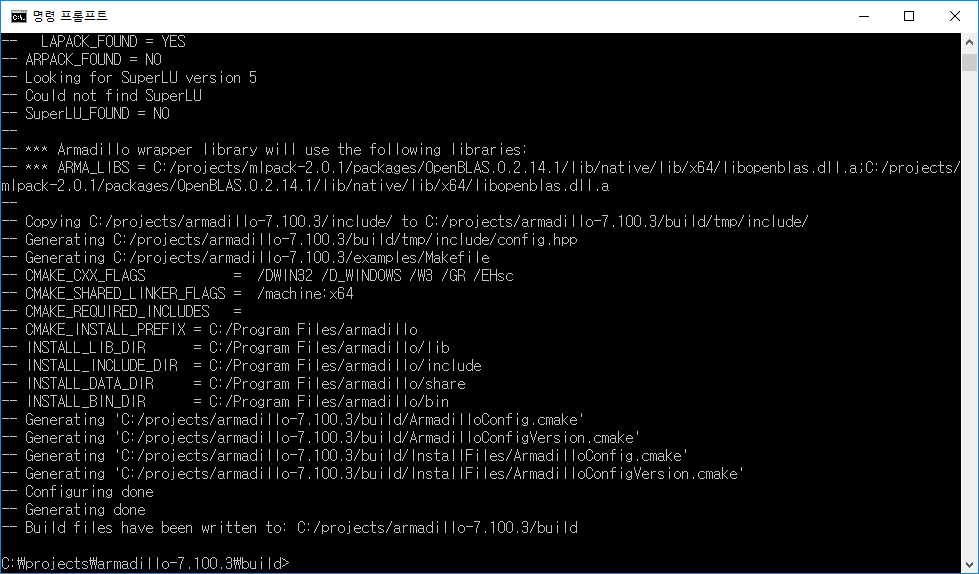
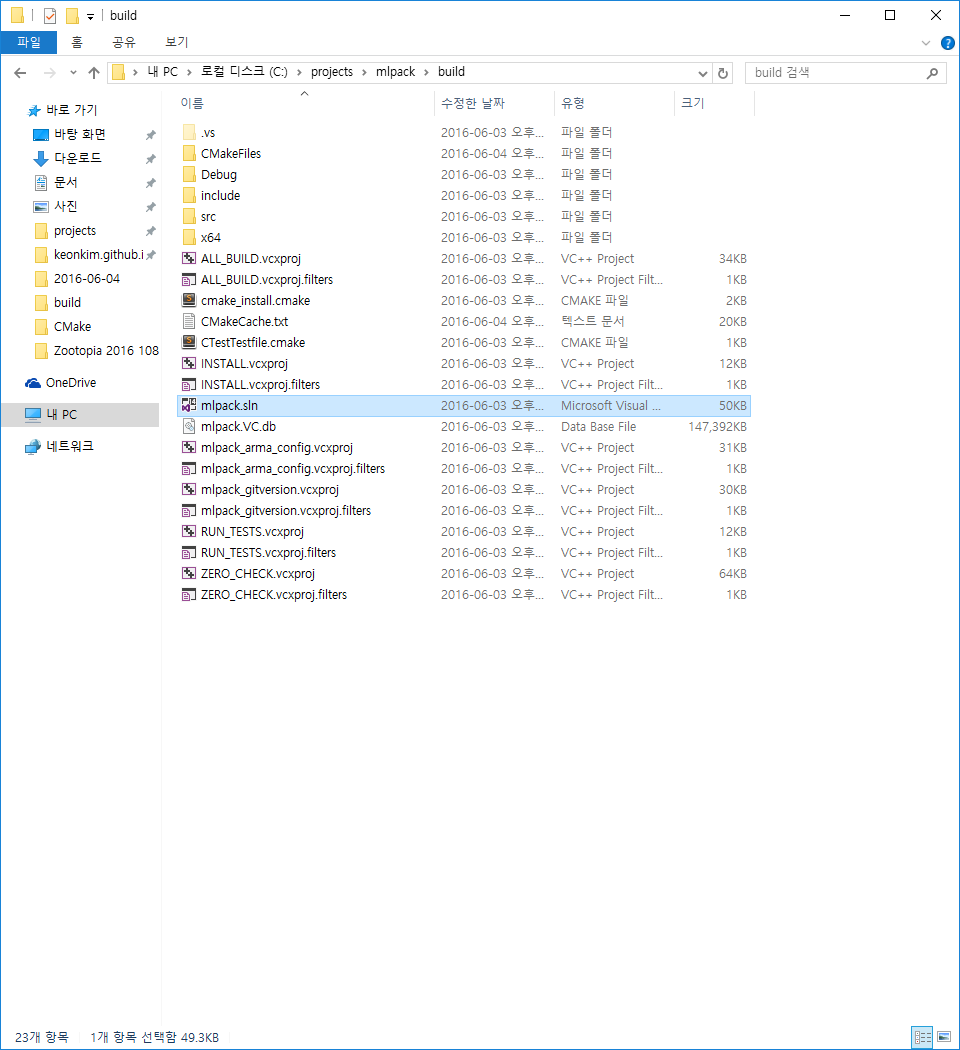
Cmake then should create many files below build folder. click on armadillo.sln file to open with Visual Studio. Next, click “Build > Build Solution” to build armadillo.
When you are done, close Visual Studio and go to step 4.
Step 4, Build mlpack.
Now you can finally build mlpack!
The instructions are same as building armadillo, so it should be easier as you’ve already done it once.
Copy and paste the following to the commandline.
|
|
Again, if you used different directories along the way, you must edit it accordingly. I broke down the flags for you.
|
|
now open the mlpack.sln file (under the build folder) with Visual Studio.
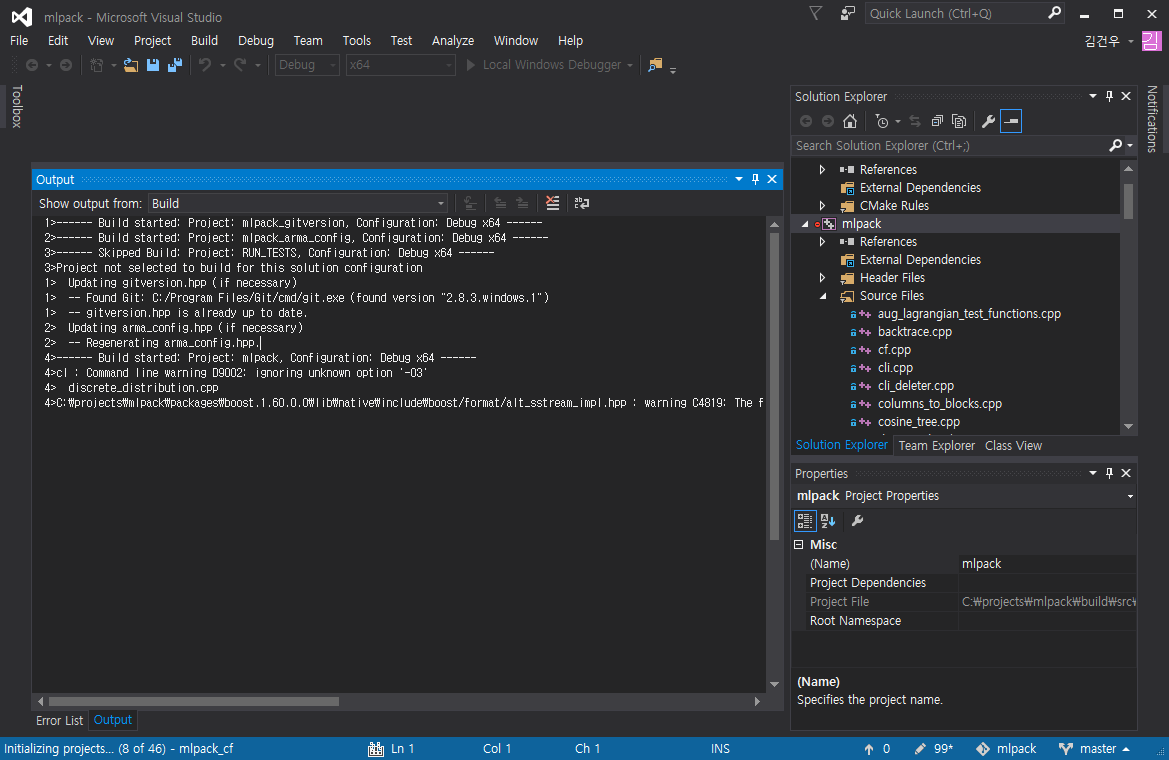
Click Build > Build Solution. It is going to take a while to build. And congratulations!
You just successfully built mlpack.
notice
if while building mlpack in a windows Visual Studio environment and you receive error C1128 go to the the specific project in Solution Explorer highlight it > Next go to ‘Project’ > ‘Properties’ > ‘C/C++’ > ‘Command Line’ and add /bigobj to ‘Additional Options. After that mlpack will build successfully on Visual Studios 15’